1. Access Nudge template creator via Nudge Engine
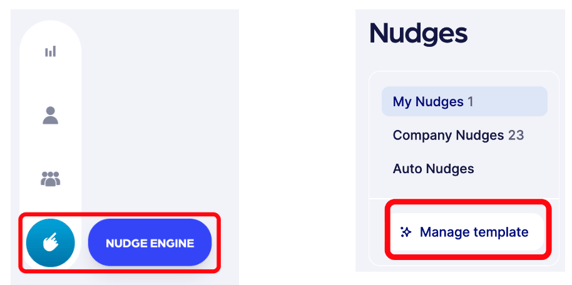
- Navigate to the Nudge Engine.
- Select the ‘Manage Template’ option under the Nudges menu .
- The ‘All Templates’ window will appear with any existing templates that may exist with options to edit, rename, duplicate or delete.
- Select ‘Create Template’
 The Nudge template creator window will appear with:
- A default Nudge template design; and,
- A content design menu on the right hand side which can be used to customize and personalize the Nudge template

- Name the Nudge template and set a subject line for the Nudge message.
- ‘Template name’ helps to identify the Nudge from a list of historical Nudges or templates.
- ‘Nudge subject’ is what the recipient will see in the subject line of the Nudge email notification.
- ‘User Nudge’ is the default Nudge type. If available, there is an option to make the Nudge an ‘Auto-Nudge’.
Content Design Menu
- There are a number of design elements / 'widgets' that can be used in the Nudge template, simply drag and drop the chosen widget into the desired location on the template. Some of these widgets include:
- Columns: Choose from a selection of columns and formats, where customer content can be added.
- Button: Tdirect the recipient to a desired web page.
- Divider: Add a divider to make the template easier to navigate and provide separation between key sections within the Nudge message
- Heading & Text: With formatting options available to help you build the body of your nudge message
- Image: Option to add branding and custom imagery to make the Nudge standout.
Tip: Each of the content design elements have an added feature of AI generated ‘Smart’ tools and suggestions that can be used to enhance the design and content of the Nudge template
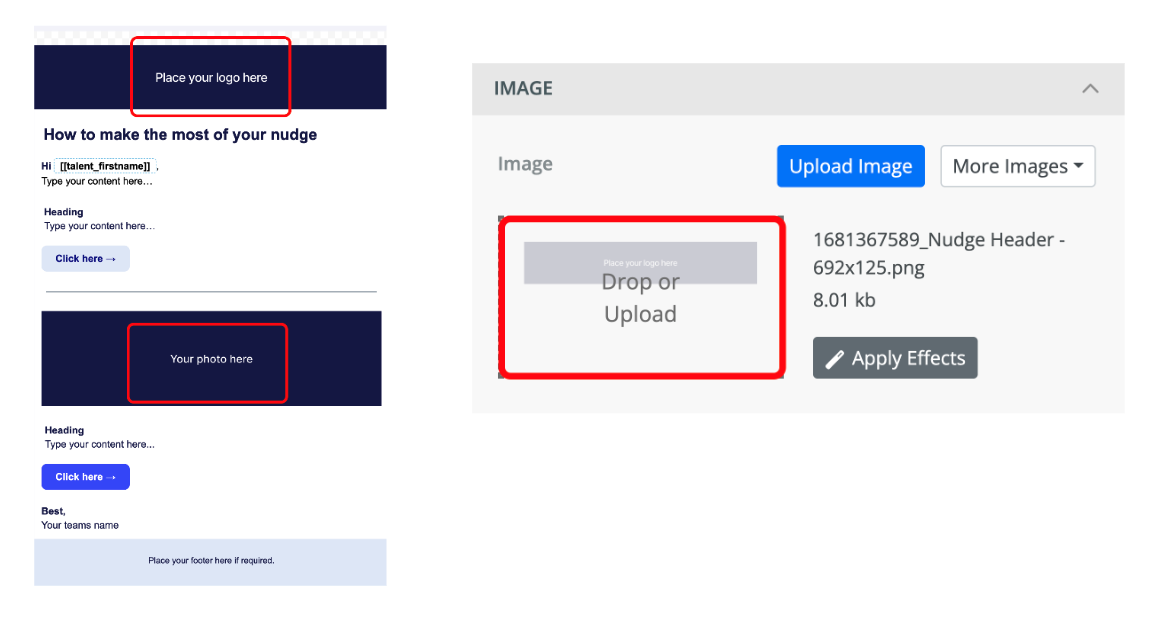
3. Add Images to the Nudge template
- Add imagery into the Nudge template by clicking on the areas that say, ‘Place your logo here’ and ‘Your photo here’.
- A ‘Content’ window will appear on the right hand side. Click on ‘Drop or Upload’ to import your desired image. Select ‘Upload Image’
- To upload a new image in a different area of your template, simply select the ‘Image’ widget from the right hand side of the menu bar, and drag and drop to the area you’d like the image to appear
- To make more adjustments, you can use the any of the editing options available in the ‘Content’ window
- You can preview your template in either Desktop or Mobile mode by selecting the tab in your ‘Content’ window

- Add and format the Nudge message copy
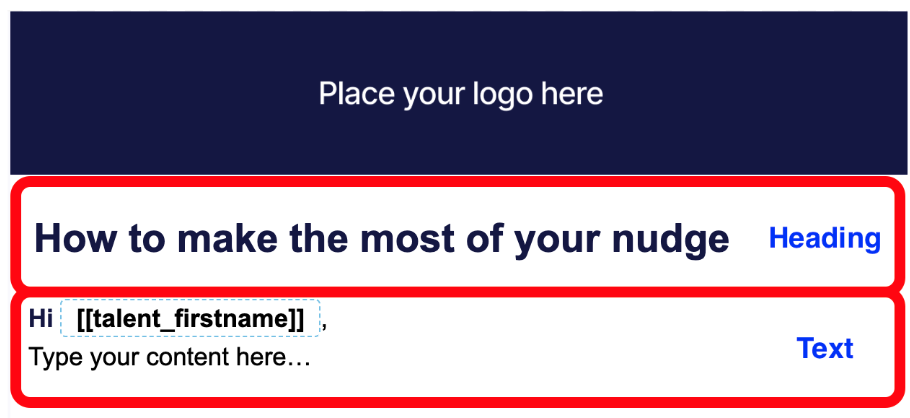
- Start by clicking on the bold heading in the Nudge template and rename to the desired heading title
- Then click on the ‘Text’ box and type in the desired message copy.
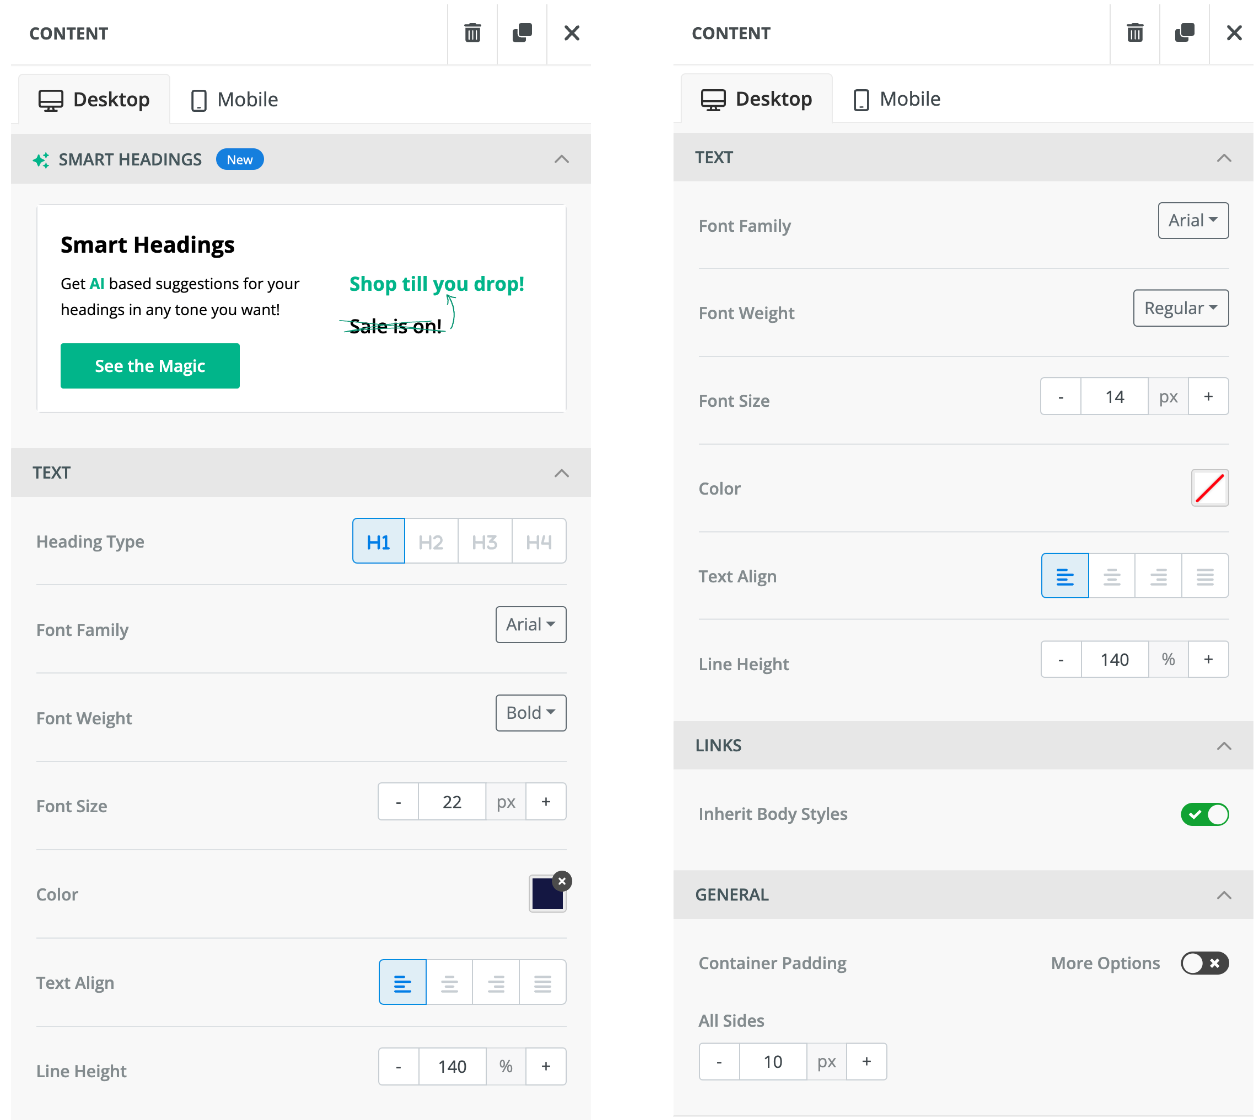
- There are a number of formatting options available to customize the text and heading, including the AI assisted ‘Smart’ Tools and suggestions

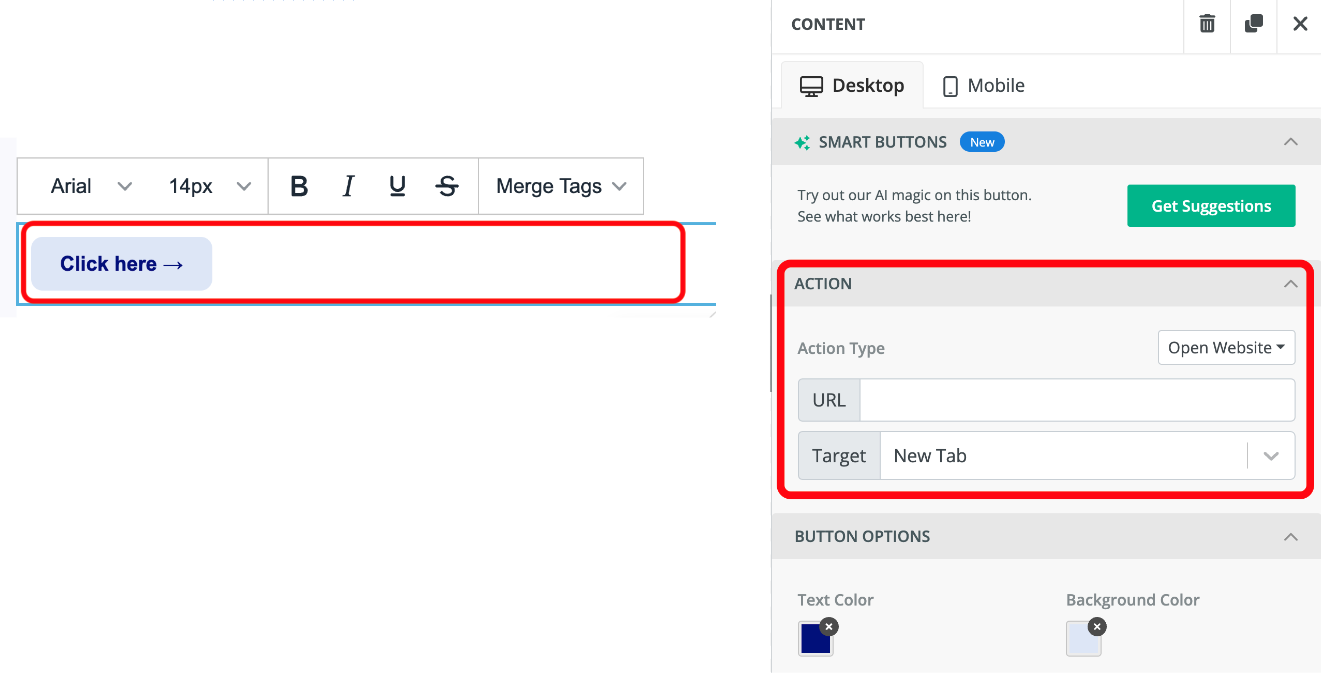
- Click in the ‘button’ section of the template to create a call to action and a redirect to a chosen webpage or URL
Should there be a need to remove or duplicate a design element, simply click on the design element section to reveal the ‘Delete’ and ‘Duplicate’ icons

Save the Nudge Template
Once you have finished designing your template, simply click on ‘Save Template ‘ and it will appear on the top of your list of templates.. You can now send a nudge using the newly created template
Related Article: How to send a Nudge to a Talent Community